Using Rate Control
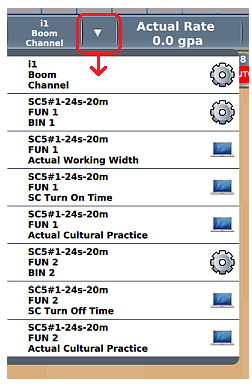
Using rate control starts with the product button in the upper left of the display. What is displayed after pressing the button depends on how many booms are active (the selected implement name and boom appears on the product button).
-
One active boom: Product Rate panel appears

-
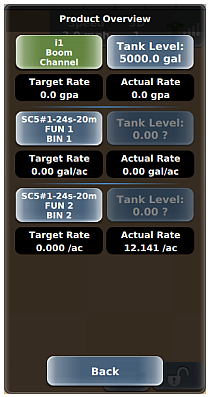
Multiple active booms: Product Overview panel appears (selected boom has a green button). Press Tank Level for a boom to set the tank level. Press an implement/boom button (left column button) to display the Product Rate panel (similar to above) for that boom.

The following table describes the buttons and fields in the diagram above to help you use rate control.
|
Button/Field |
|
Description |
|
|
|
|
|
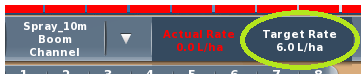
Product button: The button text (circled at left) shows the implement/boom/channel for which you are mapping data.
|
||
|
|
|
|
||
|
|
|
Implement/boom (left) button: Shows the implement name followed by the boom/channel. If you have a multi-boom implement, multiple buttons appear on the Product Overview panel for each boom/channel (see Product Overview panel above). Press the button to display the Product Rate panel (shown further down in this table). |
||
|
|
Target Rate and Actual Rate: Read-only values of the target and actual rates for the boom/channel button above the fields. To set the target rate, use the Rate Control panel (shown further down in this table). Note: The actual rate is read-only. |
|||
|
|
Tank Level: Shows the current tank level for the boom/channel. If the button is disabled, such as for an ISOBUS implement, you cannot set the tank level here—use the ISOUT window to set the tank level (see your implement manufacturer's documentation). If the button is enabled, press to display a keypad to set the tank level. Note: This button and the Tank Level button on the Rate Control panel perform the same function. |
|||
|
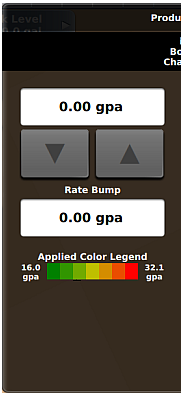
Product Rate panel
|
|
|
||
|
|
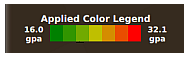
Applied color legend
|
|||
|
Product Rate panel
|
|
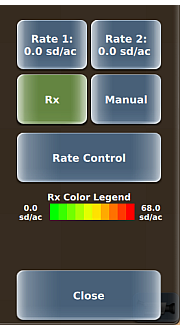
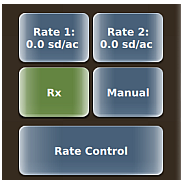
Press a button to set a rate to use.
|
||
|
|
Shows the low rate (left), high rate (right), and color gradation of Rx map rates throughout the range of application. This section appears only when a prescription map is loaded—see the following topic.
|
|||
|
|
|
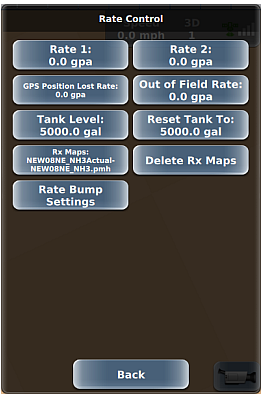
For each of the following (except Reset Tank To), enter a value by pressing the button, entering a value in the keypad, then pressing Done.
|
||
|
|
Rx Maps and Delete Rx Maps: Use to load and delete prescription maps. |
|||
|
|
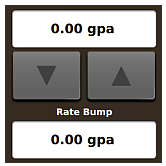
Rate Bump Settings: Displays the Rate Bump Settings panel where you can bump (incrementally adjust) the target rate by value (default) or by percentage. To change the bump type, press Rate Bump then select an option from the drop-down. The Rate Bump type you select determines the function of the Bump Rate button (value or percentage). To set the value or percentage, press Bump Rate, enter a value in the keypad, then press Done. |
|||